Imagine you can enjoy your favorite movies in a cinema-like room with the ease of your home. It must be a fantastic experience.
So how to set up a home theater system with projectors? You have to pick the right devices and install them as instructed in the manual books.
If you need a detailed guide to setting up the home cinema system, this post must be what you need. Let’s join us!
Table of Contents
How To Set Up A Home Theater System With Projectors?
There are seven steps in the process. We’ll discuss what you need to do and some requirements for each step.
Step 1: Examine the space
When you move from a TV to a projector in your home cinema, you’ll probably need to reposition some items.
There are two things to position first: the projector and the screen you will be watching.
When you install a projector-based cinema, one of the most significant modifications is how you set the lighting.
Start by checking your static light sources, such as windows and fixed lighting fixtures. The brighter and crisper your display is, the less artificial light reaches the projection lamp and display.
The second difference is that you have more choices for screen size. Most projectors can deliver a wide variety of screen sizes, ranging from 30″ to 300″.
The larger the display, the greater the distance between the screen and the light source, and the more delicate the picture is to light pollution.
If you want a huge screen in a small space, choose a short-throw projector, which typically means paying an extra cost.
Last but not least, consider where you will sit. The projector’s light beam must be able to reach the display without being blocked.
Consider how you’ll lift the beam above everybody’s heads if you wish to place your sofa between the screen and the projector.
For long-term setups, ceiling-mounting is the safest solution. If this method is too complicated for you, take advantage of the tall bookshelves or other household furniture.
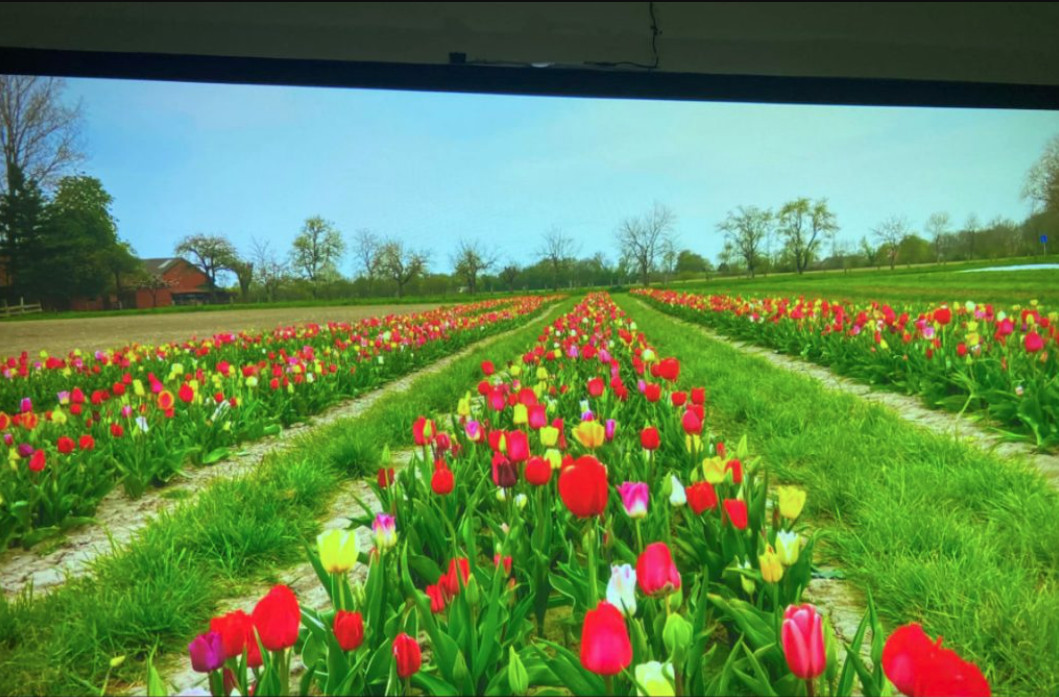
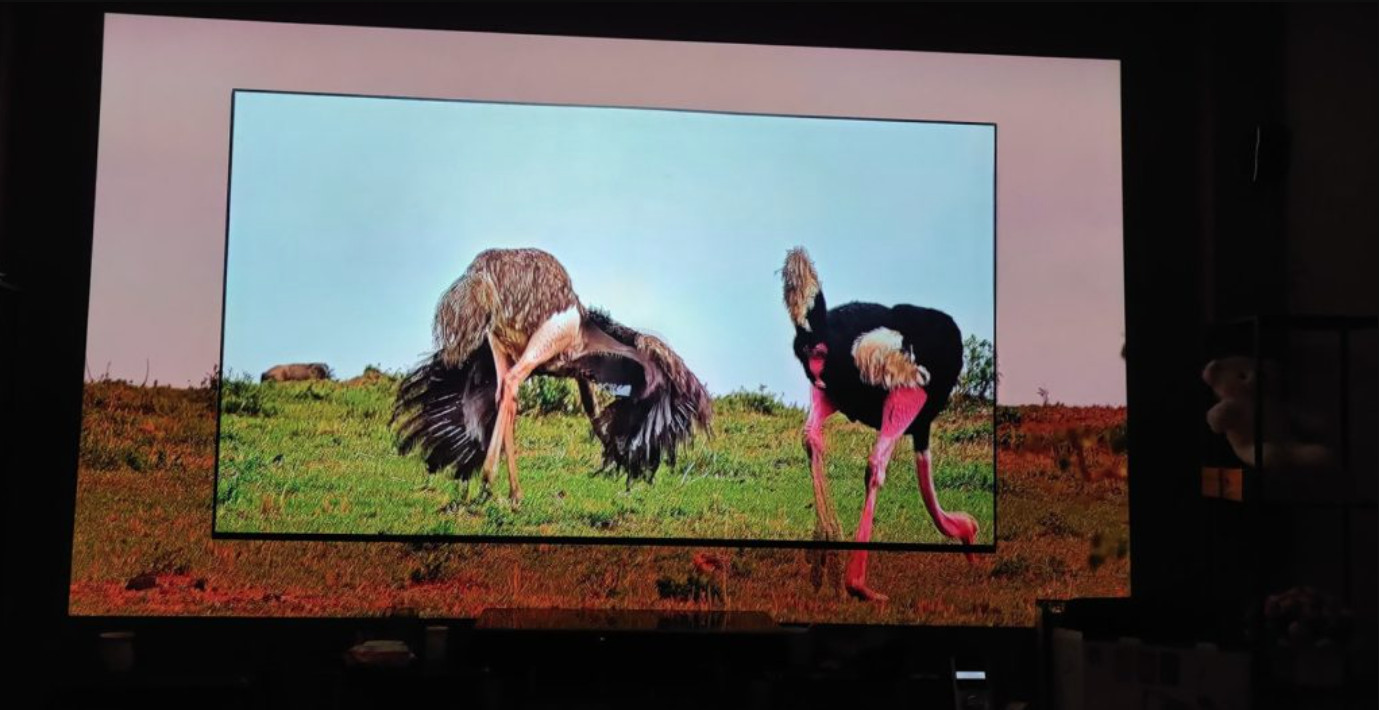
Step 2: Choose the screen
You can display the movie from a projector onto a blank wall or hang a white sheet if you’re in a rush.
However, if you’re setting up a full-fledged home cinema, it’s worth investing a bit of your budget into a high-resolution screen.
Do not overlook the screen’s significance in your watching experience. There aren’t many white, blank walls the size you’ll need for a projection screen in most houses.
Many projector monitors can also boost contrast or increase image quality, which may be very beneficial in areas with a lot of ambient light.
Others include micro-perforations that allow you to put speakers beneath the screen for genuine surround sound.
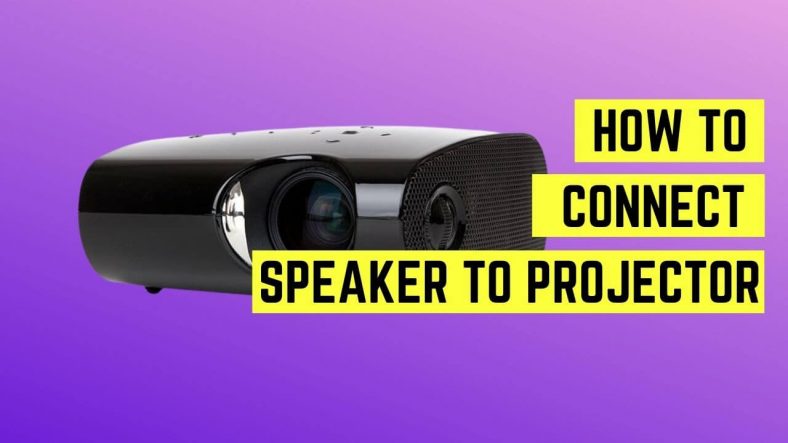
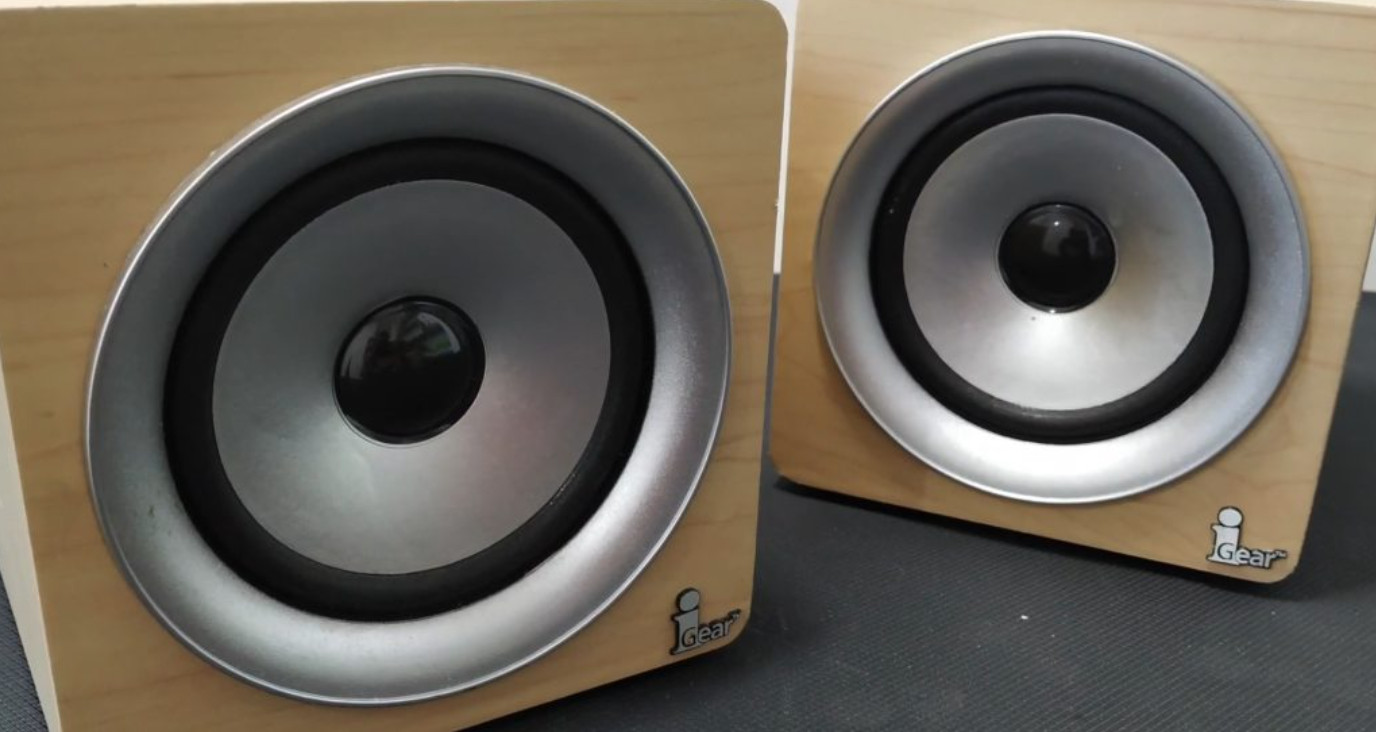
Step 3: Choose the sound system
Most TV speakers on most TVs are robust enough to cover a regular living room with adequate sound.
On the other hand, projectors are smaller machines with 10-watt speakers that don’t have the same power.
Projector heat bulbs need fans to cool them so that the issue worsens. You may also find the noise from those fans annoying.
External speakers aren’t necessary if you use a projector, but they’re preferable to employ a TV-based home cinema setup.
If you have one already, ensure the projector you use is compatible. Most projectors will come with a 3.5mm audio output at the very least.
If you have an extra HDMI port, you may use it to link the speakers to your computer via Bluetooth.
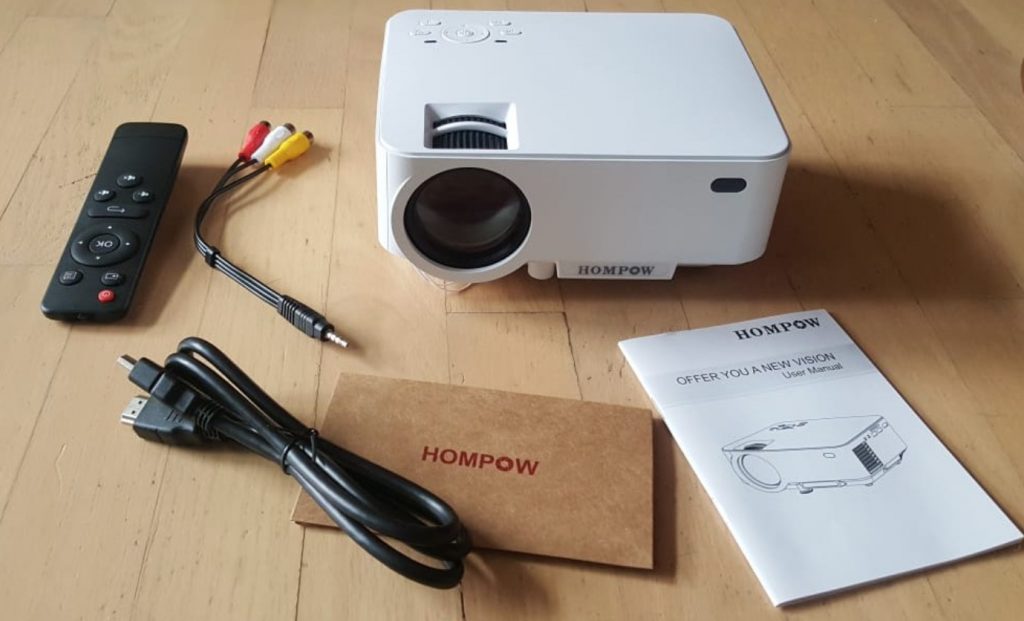
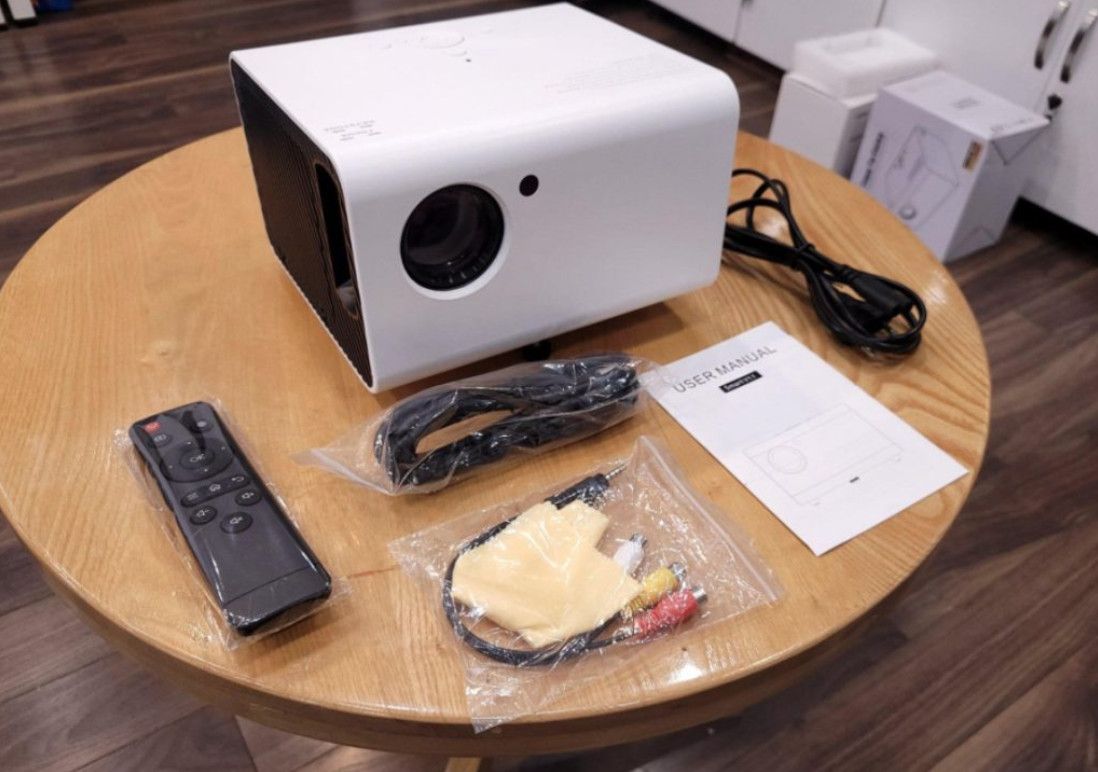
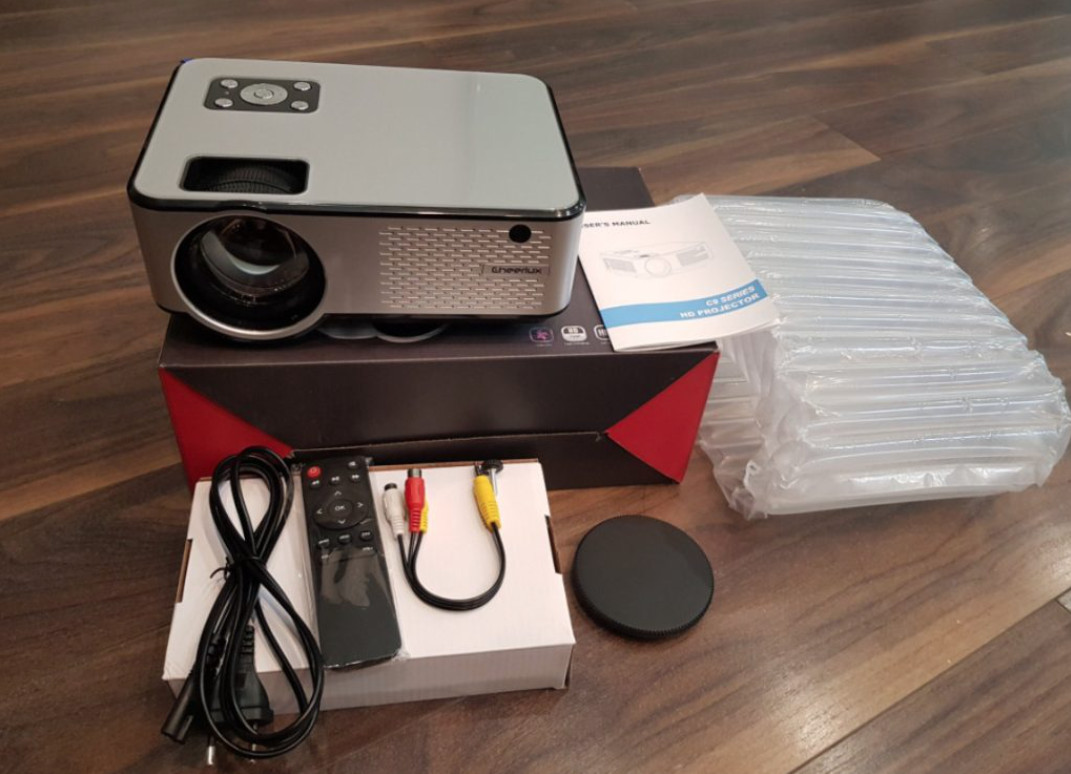
Step 4: Set your budget and buy the equipment
Make a list of every item you’ll need to complete your setup. This list will tell you how many choices you’ll have to allocate your budget.
You’ll need a screen and a projector at the absolute least. You may also install a sound system.
You will gather some peripheral accessories to install the devices, such as extra cables and a ceiling mount. They add up the cost.
Related: Can you use a projector for gaming?
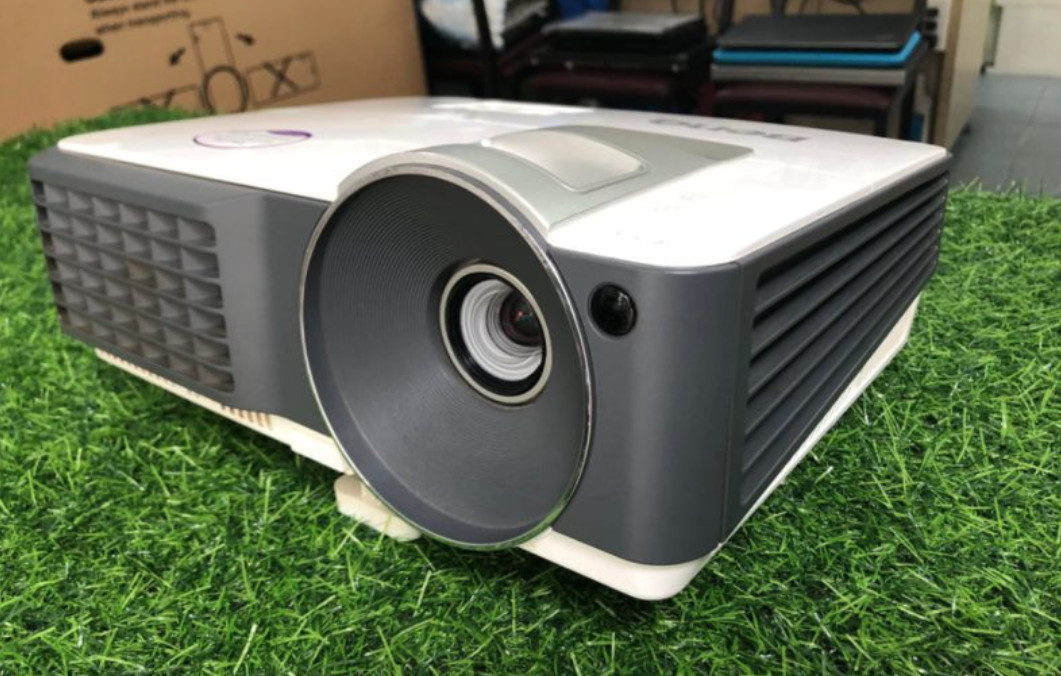
Projector
The projector will most likely be the most expensive part of your budget. They range in price from one hundred dollars for a basic model to $2,000 or more for a full-featured version.
A projector with a 1080p resolution in the $500 to $1,000 range should be enough for most households.
Screen
Surprisingly, screens come in the same price range. A blank white screen with a size of 120″ to 150″ would suffice for most households, and you can get one in the $50 to $100 range.
The only reason to pay more is if you want advanced features like a behind-screen speaker or a high-contrast display.
Sound system
The price of a sound system is completely up to you. If your TV speakers’ sound is good enough for you, a 2.1 surround sound system can work for you. For as low as $50, you can get a nice set.
Accessories
Finally, don’t overlook the importance of ancillary items like ceiling mounts and wires. Separately, they don’t add much to the total cost; most mounting systems cost between $25 and $50.
If you’re not an experienced DIYer, you will find it hard to run wires and interact with your house’s electrical system. You can hire a professional for these tasks.
Step 5: Install the pieces
When it comes to installation, some people consider contacting a professional.
However, if you don’t intend to mount your projector, then you don’t need to ask for help.
Even if you want to mount your system, the kit is easy enough for you to do everything yourself with little electronics and home repair experience.
To begin, make sure you have bought everything you need, and they are ready to use.
Things will be much simpler if you have the proper screws, cables, and tools before starting your job.
You should also read the handbook that came with your purchase. Connecting items in a correct order can sometimes help ensure that everything functions after you turn on your system.
This idea is particularly crucial for ceiling-mounted units, as working with them after installation may be a pain.
Step 6: Set up the projector
To get the display from the projection to the appropriate size and exactly centered on the monitor, you’ll probably need to conduct some image adjustment and alignment.
If you’re installing the projector, adjust the screen first to ensure it’s in the proper position before fastening the hardware.
To bring the projection to the perfect height, mount it on a ladder till you are ready to secure the position permanently.
If you have to choose a fixed position because of the limited space, you might instead wait to securely attach the screen and adjust the picture size by moving it around.
The kind of picture adjustments you may make differ in every projector. However, it may include alignment, inversion options, and zoom.
Many projectors provide keystone adjustment, allowing you to tilt the item away from the screen without spoiling the picture. If yours doesn’t, point the lens directly at the screen.
Some projectors come with an onboard tutorial that takes you through the process of adjusting your setup, audio, and image. It could or might not be as simple as attaching everything to the proper ports.
You’re not the only one who feels confused. There are a plethora of tutorials available to assist with the quirks of particular setups and models.
Step 7: Test
Hang the screen securely, mount the projector if necessary, and choose a long-term position for the speakers.
Check for wires dangling from the ceiling, hanging across walkways, or where they might cause problems.
Then, please double-check that you have hooked up everything properly before calling it a day.
It’s a lot less stressful to discover and address any problems right now than to notice them when you’re watching your favorite movie.
Play a short game or watch a Netflix show—do whatever you usually do with your setup to test.
Make sure the audio and images are both functional and synchronized on input channels.

Features To Add To Your Home Theater System
A decent projector isn’t enough to create a terrific home theater system. You still have a lot of options for making your experience better.
Acoustic panels
Why is the sound in the cinema much better than the one you have at home? The key is the enormous sound system. Yet, the answer can be more than that.
The sound in movie theaters comes with optimal acoustics, ensuring that the sound you can hear is of the best possible standard.
You don’t have to turn your living room into a full-fledged home studio. However, installing some sound-absorbing acoustic panels can significantly enhance the sound quality.
Try to choose thick, dense, and non-toxic panels. It’s helpful if you can cut the panels into small pieces.
Then, use adhesive spray or double-sided tape to mount the panels on your walls, and enjoy!
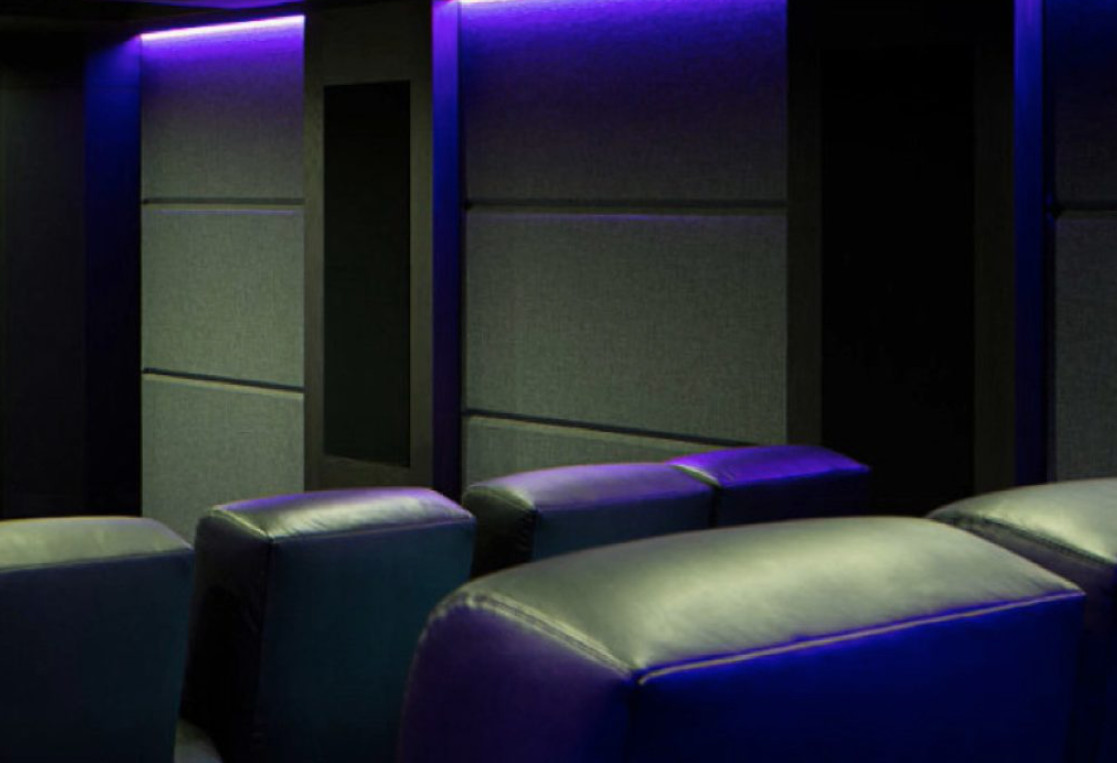
Bias lighting
Fading the lights or even switching them off can bring you a movie theater-style experience, but it can be stressful on your eyes.
Bias lighting (illuminating the wall behind the screen) relieves eye strain while also increasing the apparent contrast of your display. This method improves picture quality and costs only a few dollars.
You can get some great bias lighting solutions that are economical and complete with everything you need on the internet. Make sure they’re the right size for your display.
Mood lighting
Some individuals prefer watching movies in absolute darkness, but this setting makes it difficult to find your beverage, food, or the remote control.
Adding some mood lighting to your home cinema may improve the ambiance and make it easier to navigate without having to light up the entire room.
You may use lighted wall panels or dimmable LED bulbs in your home cinema room’s contemporary lighting.
Frequently Asked Questions
You may feel confused when setting up the cinema system. Please check the most frequently asked questions about this topic to see if you
1. What type of cables do I need for a projector?
All you should have for this setup is one single HDMI cable. There is no need for any backup cable or other extra work.
2. How can I use a projector outdoors during the daytime?
If you want to use a projector outdoors during the day, be sure it can produce at least 3,000 lumens. This level of brightness is essential to see the picture clearly.
Furthermore, securing the screen, placing the projector in a shady section of the yard, and providing shade can all help.
3. Can you use an extension wire on a projector?
Most modern extension wires are of higher quality than the inexpensive Romex wire used in your home setup.
Employing a high-quality extension cable to power a 200 to 300-watt projector doesn’t cause any problems.
Conclusion
Setting up a home theater using a projector is straightforward. It’s the most cost-effective option to present your movie, even if you opt for high-end technology and a professional setup.
Expecting the expense and labor before starting your project helps you avoid confusion. Finally, it’s time to enjoy the fruits of your work.
Hopefully, you will find this guide helpful. For any further information, please feel free to ask. Thank you for reading!