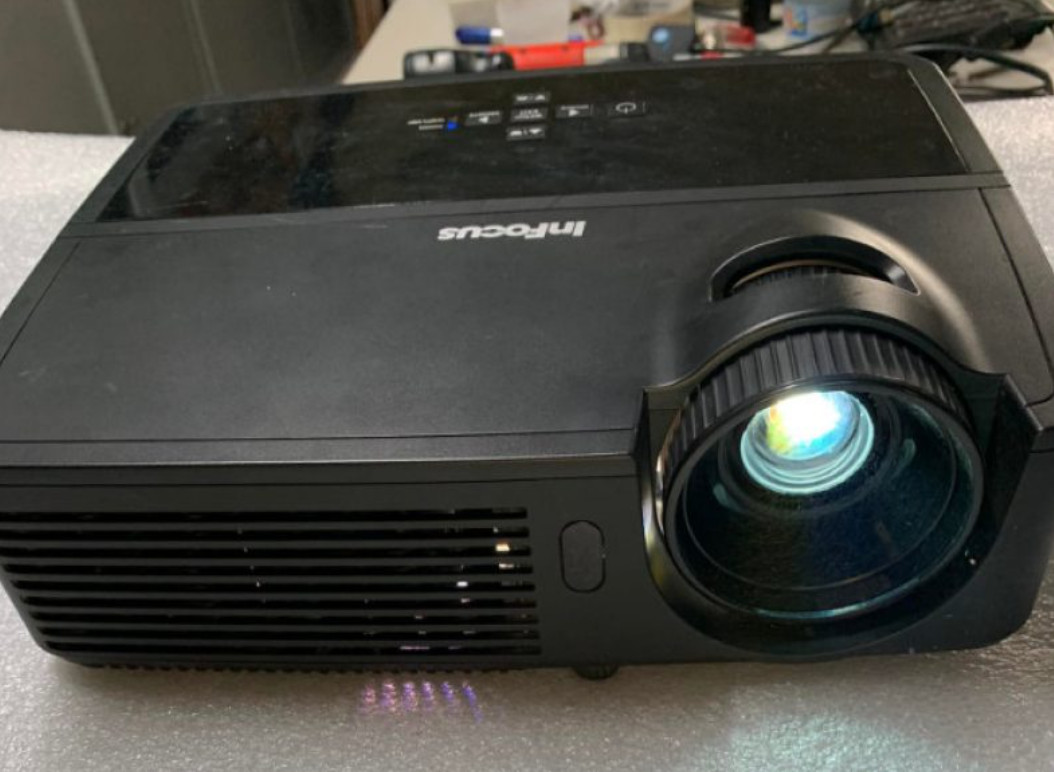
How to clean Projector Lens? Step by Step
The lenses may get dirty over time, affecting your movie-watching experience. So how to clean projector lenses effectively?
The cleaning process is straightforward with four steps. You just need to apply the cleaning solution and use a soft cloth to wipe the dust away.
We will discuss every single step in detail right here. Let’s follow our post!
Table of Contents
How To Clean Projector Lens?
It’s not as tough as you would imagine when cleaning the projector lenses. Yet, you must be gentle and careful so as not to scratch and damage the glass.
Step 1: Prepare
First, gather all the necessary tools for this task:
- Microfiber cloth
- Compressed air
- Cleaning papers
- Cleaning solution
- Brush (optional)
- Tissue papers
Make sure that the cleanser is safe for the glass. Strong and abrasive cleaning solutions (isopropyl alcohol, benzene, thinners) can harm the lens coating.
Remember that the type of glass used on a lens is extremely delicate and sensitive to micro-abrasions.
You should also make sure the cloth you’re employing is a lens cloth. Rough cotton fibers from normal clothes or rough paper towels could do the trick, but they will leave hundreds of scratches.
Another thing to check is how hot the lens is. The hot glass is more susceptible to deterioration when working.
If you have just used the projector, switch it off, disconnect the power cord, and let it cool completely. The cooling time varies from 30 minutes to several hours.
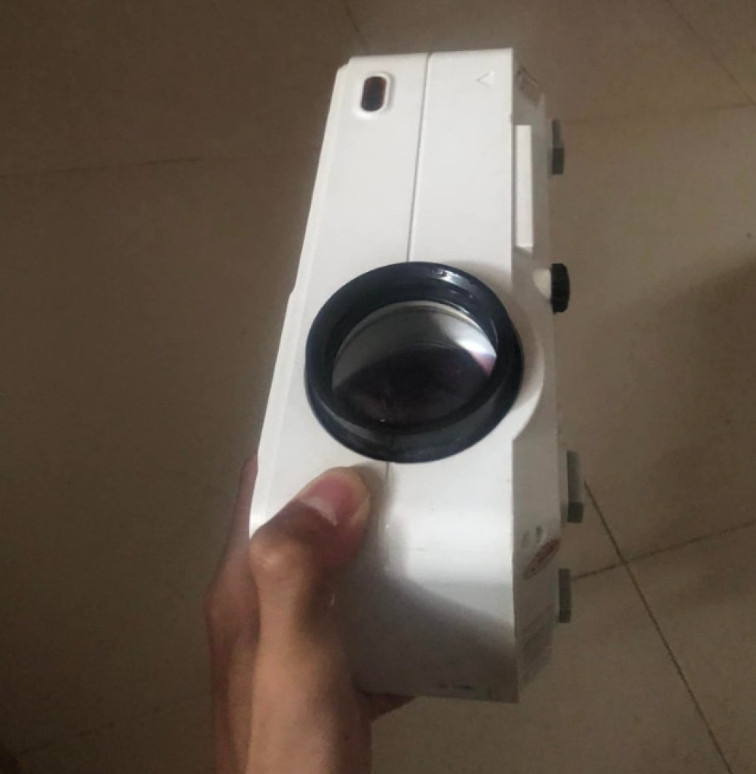
Step 2: Open the projector
This step is only necessary if you want to clean the inner optics thoroughly. You can jump to step 4 instead.
You’ll need to open the projector to take the internal lens out. Depending on the type and brand of product you have, there are many ways to open it. You can consult the user manual for this step.
Step 3: Clean the interior
This step is also optional, and it only occurs if you performed step 2. If you haven’t already, move to step 4 instead.
You can use a can of compressed air to clear the dust within the projector. Try to keep a distance of 3 to 4 inches between the can and the projector.
The nozzle can reach hidden areas, helping you remove the dust completely.
Wipe the dirt accumulated using a microfiber cloth and spray some moisture. Keep wiping gently until the surface is clean.
After cleaning the interior of the case, remove any remaining debris and dust.
Please note that dust adheres to any moisture and will most likely stick to any cleaning agent, so be aware of it.
Also, take particular precautions with the fan vents and the surrounding region.
You can clean the projector and any surface with tissue paper. However, they are not suitable for the lens.
Related:
– What does Projector Lens Shift mean?
– How to Use HDMI to Connect a Laptop to a Projector

Step 4: Clean the lens
Now that you have cleaned the shell and interior thoroughly, we may go on to the most crucial stage.
Remove the lens cap and use compressed air to clean the dust from its surface.
Then, apply some drops of cleaning solution and clean with a cloth or a brush.
When it comes to cleaning solutions, remember that less is more. Because your lens is so small, you’ll only need a small quantity of cleaning solution – any more makes it increasingly challenging to get the glass spotless and streak-free.
Wipe the surface gently with the towel in a circular motion, starting from the center to the outside border, until it seems clear.
Alternatively, if you’re cleaning with a brush, try to brush it in a circular pattern.
Remember to reinstall the cap unless you want to use the projector for home theater or other purposes straight away.
The longer the glass comes into contact with the air, the more dirt it collects. As a result, always put the cap on when not in use.
Consider where you’re going to put your device to keep dust out. Avoid placing it near any fans or outgoing ports.
If you prefer to project movies outside, be careful when storing and moving them. Please do not keep them out in the air without any protection.
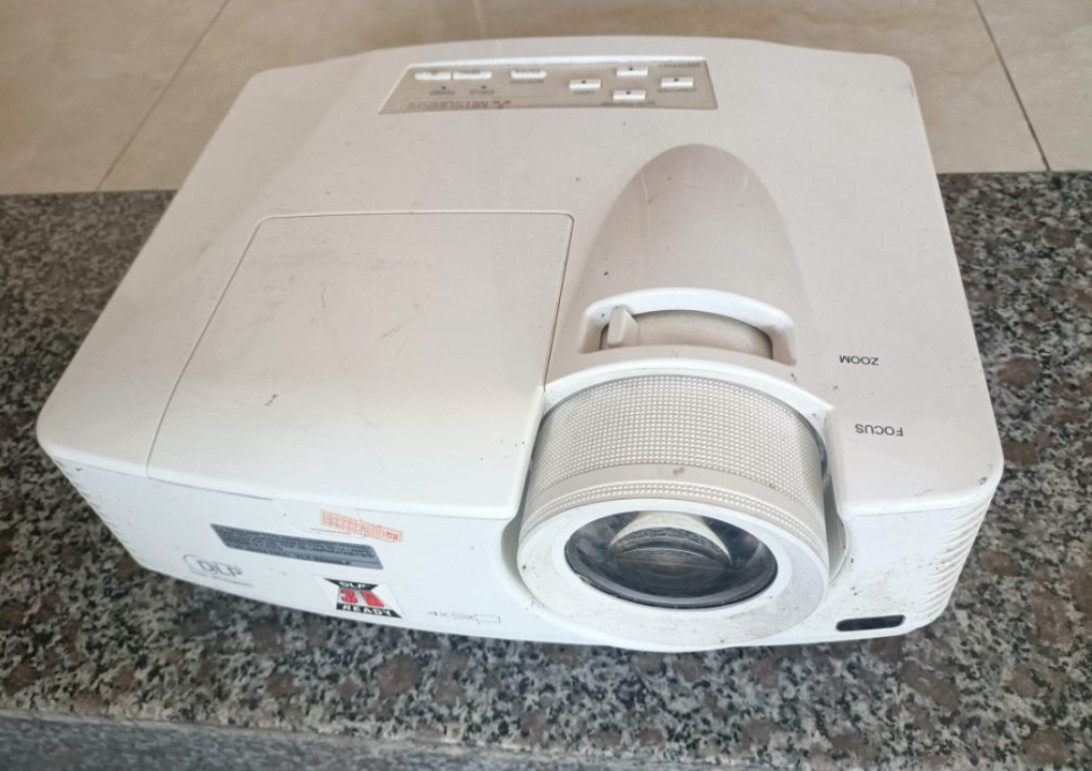
Dos And Don’ts While Cleaning Projector Lens
So we have gone through the essential steps to clean the lenses. Here are some extra tips to maximize the result.
Dos
- Always clean the glass in a circular pattern, whether with a brush or a microfiber cloth; avoid cleaning in a straight motion.
- Read the labels of all the items you’re using to confirm that they’re all designed exclusively for lenses.
- Keep all cleaning supplies, like microfiber cloths and brushes, in a safe area where they can stay clean. A dirty brush is worthless.
- If you’re going to use compressed air, hold the can upright and keep it at least seven inches away from the glass.
- Always keep the cap on when you are not using the lens.
Related:
– What causes my projector to flicker? How do you solve it?
– Do projectors work well for gaming?
Don’ts
- Never wipe your lens with your T-shirt. No matter how soft the fiber is, it will still scratch your glass.
- Never clean the lenses with your breath. The acidity of the breath might destroy the glass’s covering.
- Never put your fingertips on the glass. Fingerprints are the most difficult to erase and have the most effects on the performance of your pictures.
- Never clean the projector lenses using glass cleaner or any other home product that doesn’t aim for that purpose. The use of incorrect wipes and chemicals might severely harm the lenses.
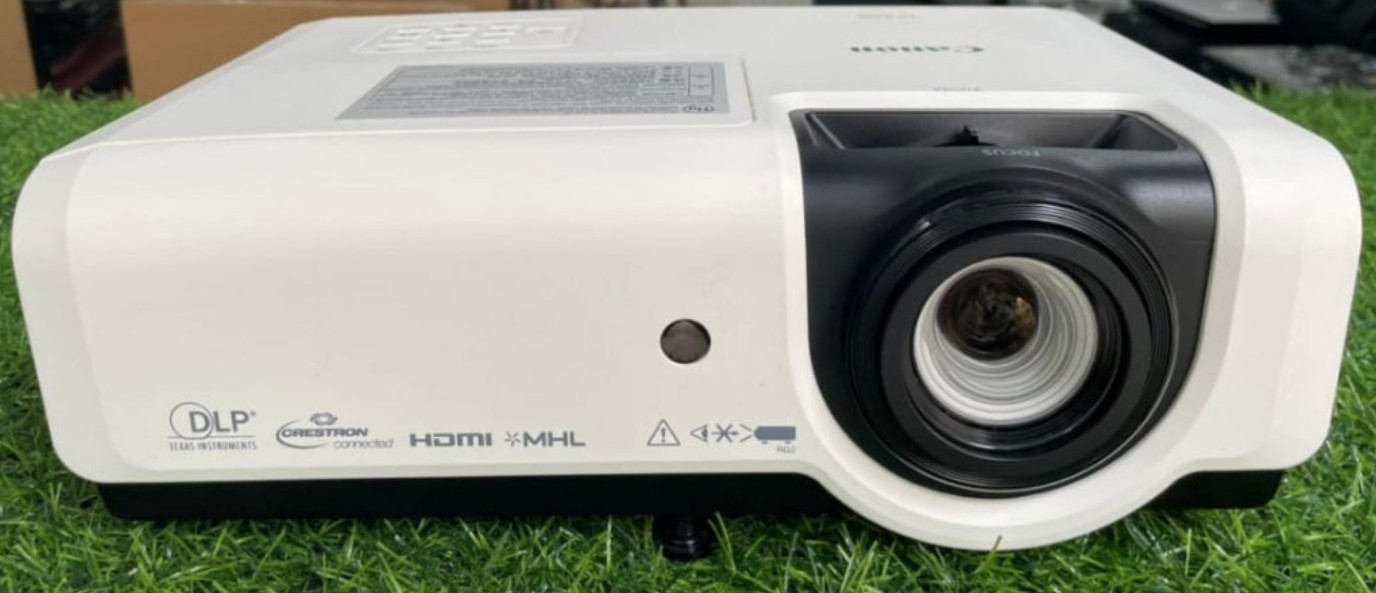
Conclusion
Cleaning projector lenses is an easy task. The ultimate rule is to gently apply the right solution and clean the glass.
It would be best to clean lenses as often as they become dirty. Also, avoid air exposure so that dirt can leak into your device.
Hopefully, you will find this guide helpful. If you need any further information, please feel free to ask. Thank you for reading!

