It may not be easy to display media from smartphones to the wall, particularly if you’re on a small budget. However, things have changed.
How to project the mobile screen on the wall without a projector? Follow these steps, and you’re already there!
- Step 1: Cut the magnifying lens
- Step 2: Insert the cut lens into the hole
- Step 3: Seal the edge with black tape
- Step 4: Cover your interior with black tape
- Step 5: Position the phone
- Step 6: Display images
We will explain what exactly you do in each step. Let’s follow our post and learn how to enjoy your home theater without luxury devices!
Table of Contents
What Do You Need?
The method we are going to share is the cheapest available. You can find the necessary tools for this project at your home.
- Magnifying lens
- An x-acto knife
- A glue stick
- Pencil
- Black paper
- A box
- Tape
- A phone
- Binder clips (one small and one large)
How To Project The Mobile Screen On The Wall Without A Projector?
With all of these items on hand, you can start building a DIY projector. And this project can allow you to display content from the smartphone onto the wall.
There are six steps in the project. Let’s check one by one and take notes if necessary.
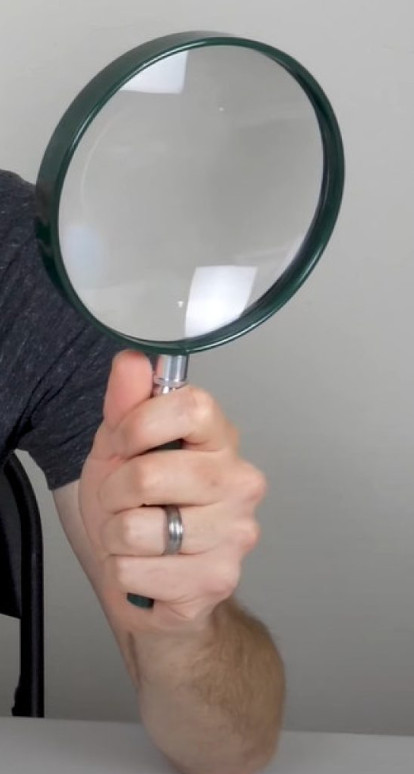
Step 1: Cut your magnifying lens
Start by detaching the handle from the magnifying lens. To remove it, just unscrew the hook.
Then, flip the box over so that the tiny side is on the tabletop and the lens is on the opposite side.
Use your pencil to sketch around the lens’s edges on the box. Make the line visible because you’ll be making subsequent decisions on it.
Use the x-acto knife to cut off the drawn section of the lens gently. Make sure that you perform this task perfectly.
Ask for help if you have weak hands or aren’t confident in making a smooth cut.
Step 2: Insert the cut lens into the hole
Insert the magnifying lens into the cut when you’ve finished cutting and detaching it.
Make sure the lens is securely in place. Moreover, the visible side of the lens must be within the box while the fuzzy face is facing out.
Related:
– How to mount a Projector without Drilling?
– Who Was the Projector’s Inventor?
Step 3: Seal the edges with black tape
It would help if you used black tape to conceal the hole edges. Then, there wouldn’t be any light to shine and enter the box.
Step 4: Cover your interior with black tape
Cut the black paper into the correct size for the box. Make sure that the paper can cover every corner. Then, apply some glue to the paper and stick it to the box’s interior.
If you don’t have black paper, use black paint instead. Paint the interior of the box black, ensuring that it covers every inch of your box.

Step 5: Position the phone
Your phone needs a firm stand, where you put it on and adjust the angle when necessary.
You have prepared two binder clips. Now, insert the small one in the center of the large one.
After attaching the clips, raise them and put the phone in place. With this method, you’ve completed the projector’s construction.
Step 6: Display images
If you use an iPhone, go to “Settings” -> “General” -> “Accessibility.” Then, tap on the assistive touch and choose the device. Finally, adjust the display to your satisfaction.
If you use an Android device, you’ll need to get a rotating application from the “Play Store” to assist you in setting your screen. On the other hand, if your smartphone can rotate, it’s to your advantage.
All that’s left now is for you to fix the pictures on your wall. Move your smartphone around until you establish the best position for your images.
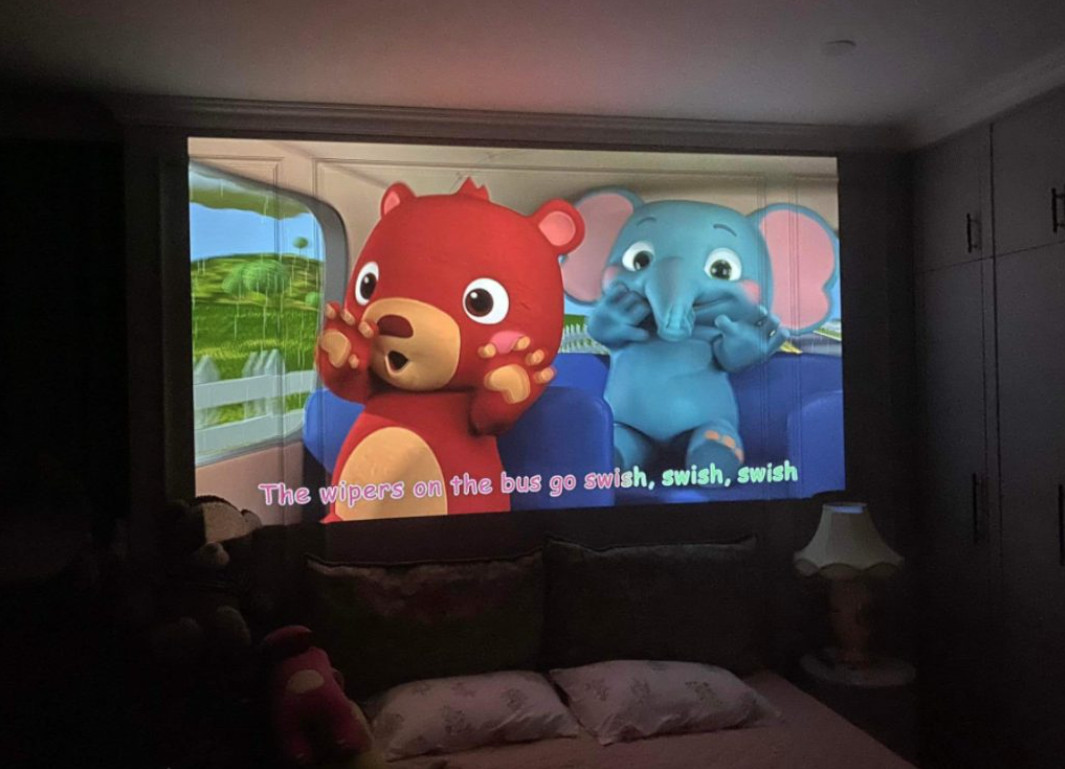
Please note that the DIY display isn’t the real device. As a result, do not expect all of the features of an actual projector. The picture quality is one problem you may notice at first.
Because of the uneven magnification, there may be blurriness in the picture. You can improve the visual sharpness by reducing the picture’s size on your wall.
Related:
– What is a good contrast ratio?
– How do you connect a projector to your Apple MacBook?
Frequently Asked Questions
People have some trouble constructing their projectors. Here are their most frequently asked questions.
1. What is a DIY projector, and how does it work?
The DIY projector works by allowing the light rays from your phone to travel through the magnifying lens, delivering the image in the phone to a bigger screen on your wall.
2. Why is the produced sound not clear?
The sound you get may not be ideal. Sometimes it’s even inaudible. In this case, the best solution is to get extra Bluetooth speakers.
If the speakers you use are wireless, you can easily connect them to your smartphone and achieve high sound quality.
3. Why is the picture upside down?
Because you only used one magnifying lens to make our DIY projector, it may become inverted and expanded, making the image upside down.
You can tackle this problem by putting a mirror between your phone and the lens.
4. Can I increase the size of this projector’s screen?
Yes, you may do it by relocating the projector further away. You’ll also need to alter the focus by sliding the smartphone back and forth.
Conclusion
While building a DIY projector may sound complicated, the procedures are pretty straightforward. By following those instructions, you can have an excellent display.
You are both learning and enjoying yourself by making this device. If executed properly, the end product will surprise you.
Hopefully, you can build a home cinema at a low cost. If you have any trouble following our guide, please feel free to ask. Thank you for reading!