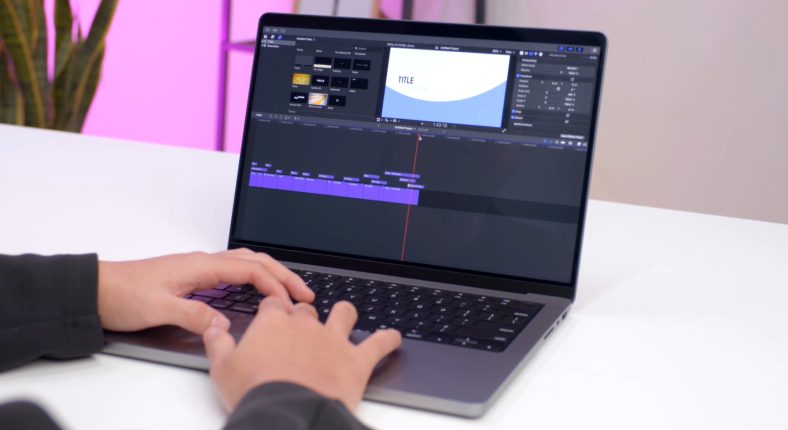
Understanding how to connect Macbook Pro to projectors helps effortlessly display your screen to a large group of people. There are three steps to do it:
- Step 1: Identify the ports
- Step 2: Connect the devices
- Step 3: Customize the display
What will you need to do in this step? Let’s follow our post and learn how to handle your devices!
Table of Contents
How To Connect Macbook Pro To Projector?
The most important step in the process is identifying the right ports. Then, you can use them to link your two devices with ease.
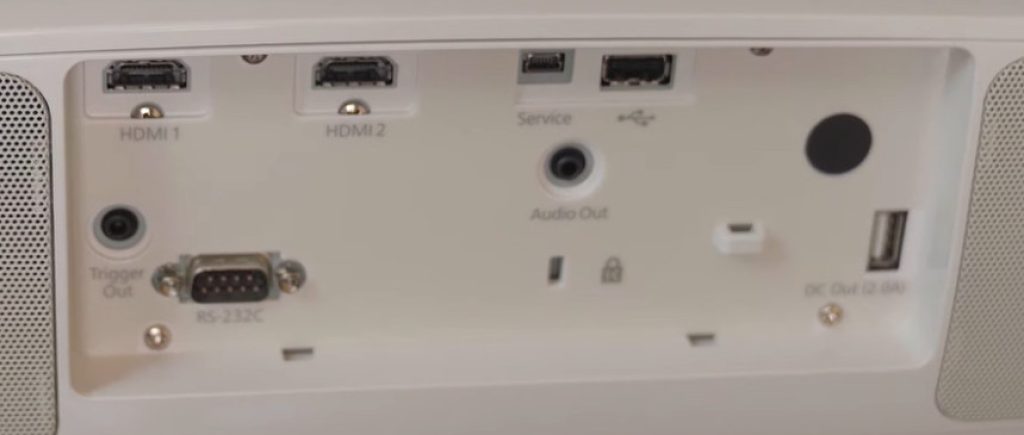
Step 1: Identify the ports
Identifying your MacBook’s connectors is essential to attaching them to projectors.
Although many MacBooks lack an HDMI port, you can still link via HDMI with an adapter.
Apple makes user guides accessible for its devices so you can figure out what ports or adapters you need.
You may also use the port shapes and symbols guideline or the Apple Tech Specs web page to find out your Mac’s serial number.
Here’s a rundown of the several sorts of ports seen on Macs.
- HDMI
If your Mac has an HDMI connection, you can connect it straight to a projector with its HDMI cable without the need of an adapter.
- Mini Display
A MiniDisplay port resembles a mini version of the HDMI connector. You need an adapter, although your projector may already come with one.
- USB-C
You can use the original Apple USB-C adapter or any other device with a USB-C connector on one end and the HDMI on the other. If your device is newer, it may already include the hardware you want.
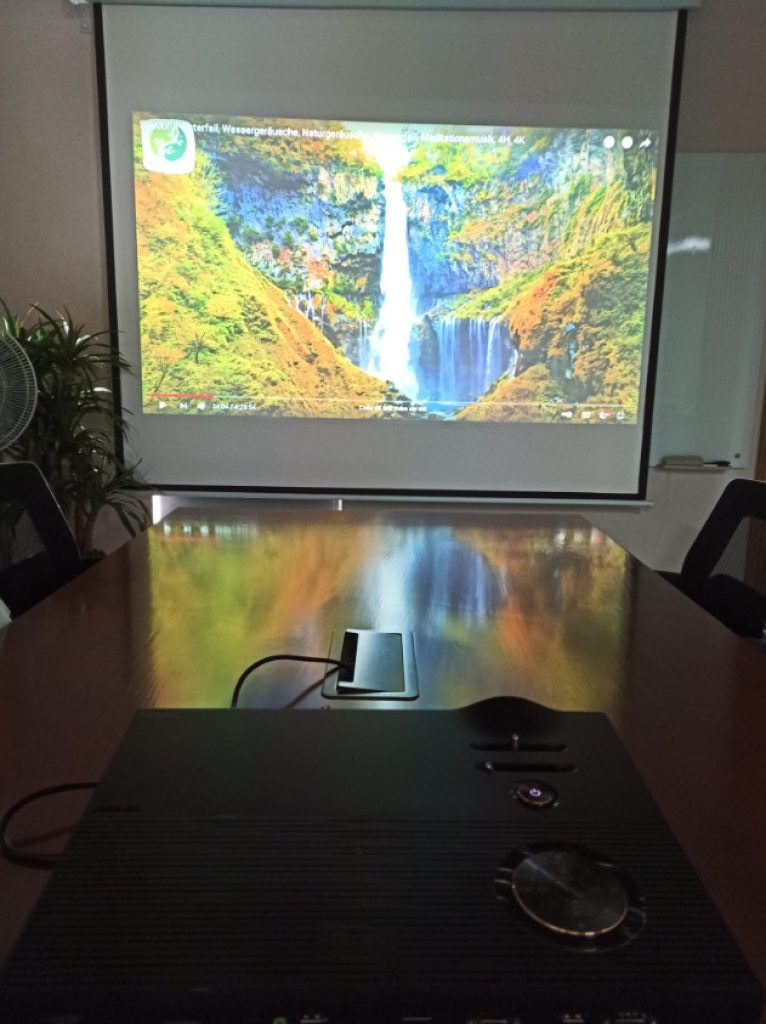
Step 2: Connect the devices
After you have the necessary connections and adapters, all you have to do now is connect the two gadgets.
Connect your projector and computer so that they can detect each other and turn them on.
Open the lens cap. Your Mac should identify the projector and stream its output to it.
Related: The best way to connect an iPhone to a Vankyo projector
Step 3: Customize the display
You may adjust the display in “System Preferences” after connecting to your MacBook. Here is how to do it:
- Choose “System Preferences” on the Apple menu.
- Click on “Displays.”
- Your device’s name appears at the top of the screen. Choose this device or the built-in option next to “Optimize For” to modify the quality of both your devices.
- You also see “Rotation” options, which let you adjust the angle of both your devices in 90-degree increments.
- If the projection is lagging, you should be able to customize the “Refresh Rate” from another menu.
- You may change the apparent size of the display in the picture using the “Underscan” feature. Drag the toggle to the right to make the image smaller.
- You may also determine whether the projector displays the input of your MacBook directly or works as an expansion of it.
- Select the “Arrangement” tab at the top of the window to alter this option. This option is valuable if you have extra sessions that you don’t want to expose to a group.
- Disable the checkbox next to “Mirror Displays” to utilize the projection screen as a secondary display.
- You may move the two screens by sliding them around.
Can You Set Up A Wireless Connection To A Projector
Yes. The Apple AirPlay is the key because it runs on Wi-Fi.
If your projection system features built-in wireless functionality, you can connect it to your Mac with the following steps:
- Link the projector to your Apple TV with an HDMI cable or an adapter.
- Choose the “AirPlay Mirroring” icon on the menu bar.
- Select “Apple TV” and enjoy.
Read More:
– How should I clean my projector lens? One by One
– How do I set up a home theater system with a projector?
Conclusion
Connecting your Macbook Pro to your projector is an easy task as long as you identify the right port for your devices. You can even link them wirelessly using Apple AirPlay.
Hopefully, you will find this post helpful. If you have any difficulty setting up your projection system, do not hesitate to contact us.
Thank you for reading!