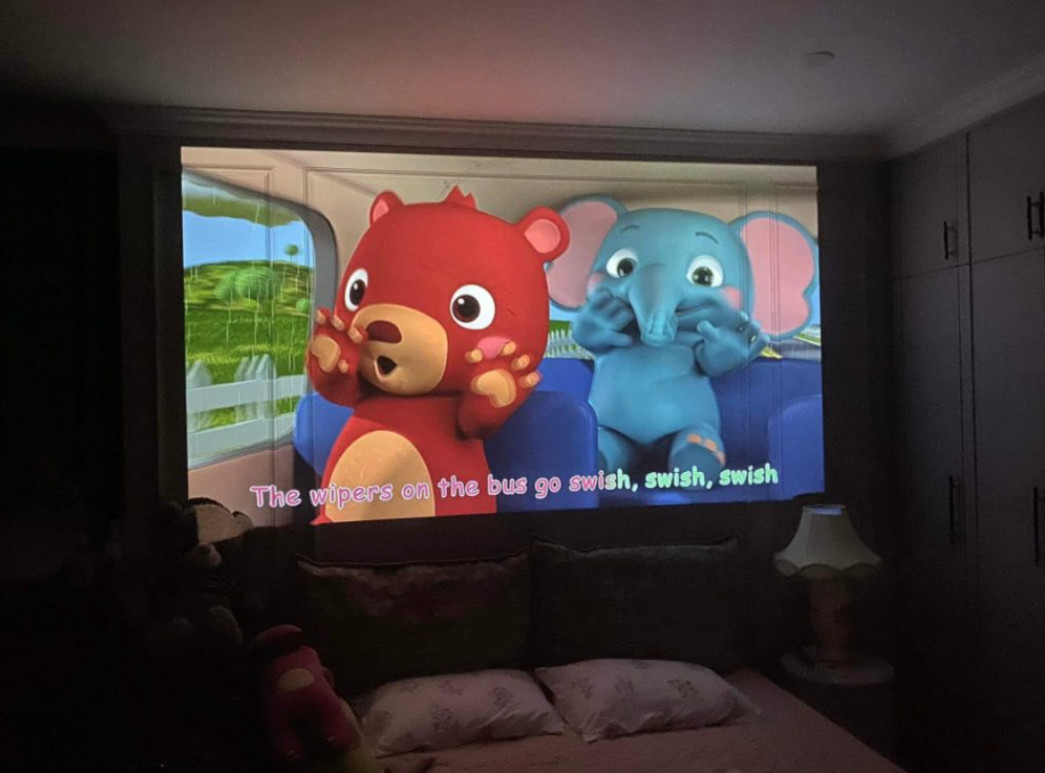
Your home theater will look great with a ceiling-mounted screen. But, how to hang a projector screen from the ceiling?
There are 5 steps to complete this task:
- Step 1: Prepare the project
- Step 2: Prepare the ceiling
- Step 3: Screw the bolts
- Step 4: Install the screen
- Step 5: Test
We will explain each step in detail right here. Let’s follow our post and learn how to perfectly set up your home cinema!
Table of Contents
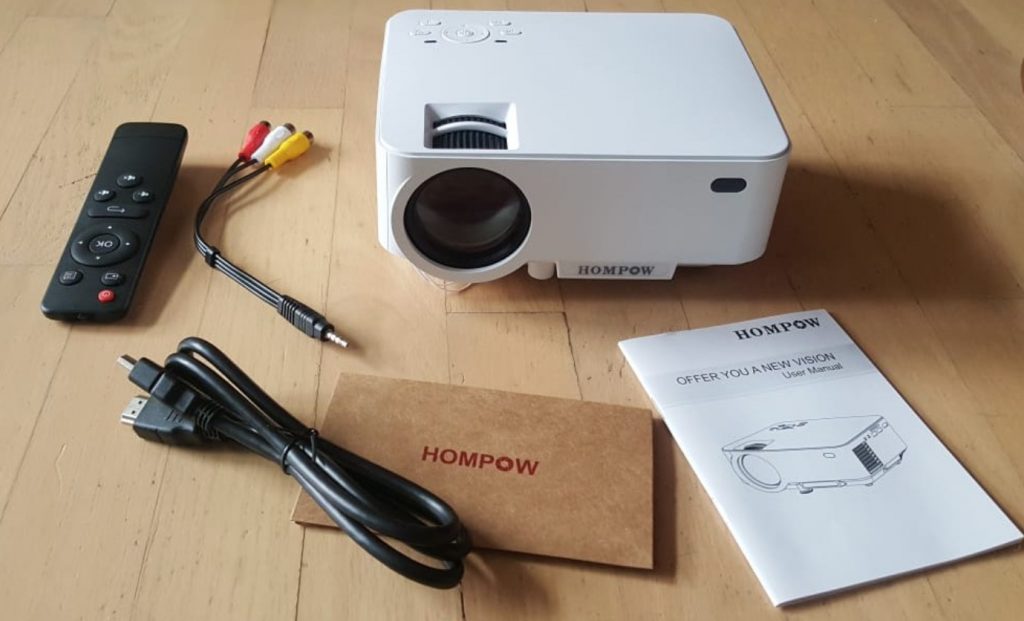
What Do You Need?
The following are some crucial tools to have on hand while mounting a screen from the ceiling:
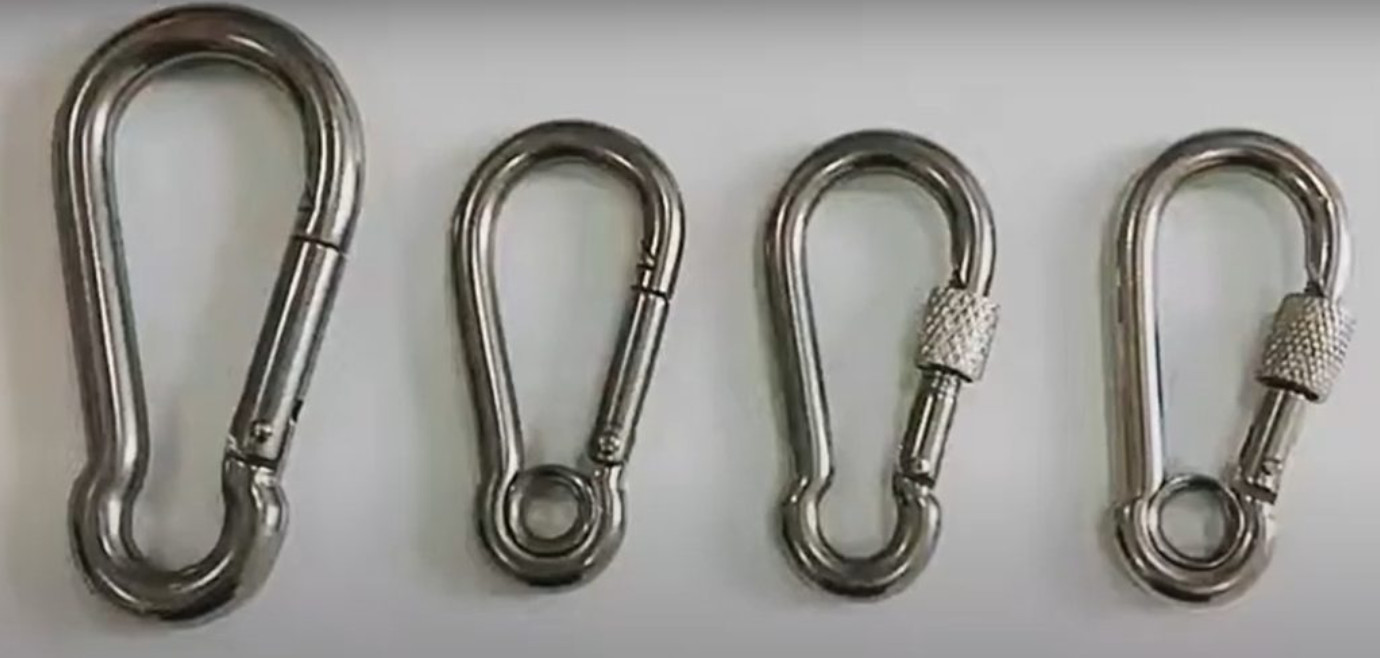
- Snap links
- Ladder
- Screwdriver
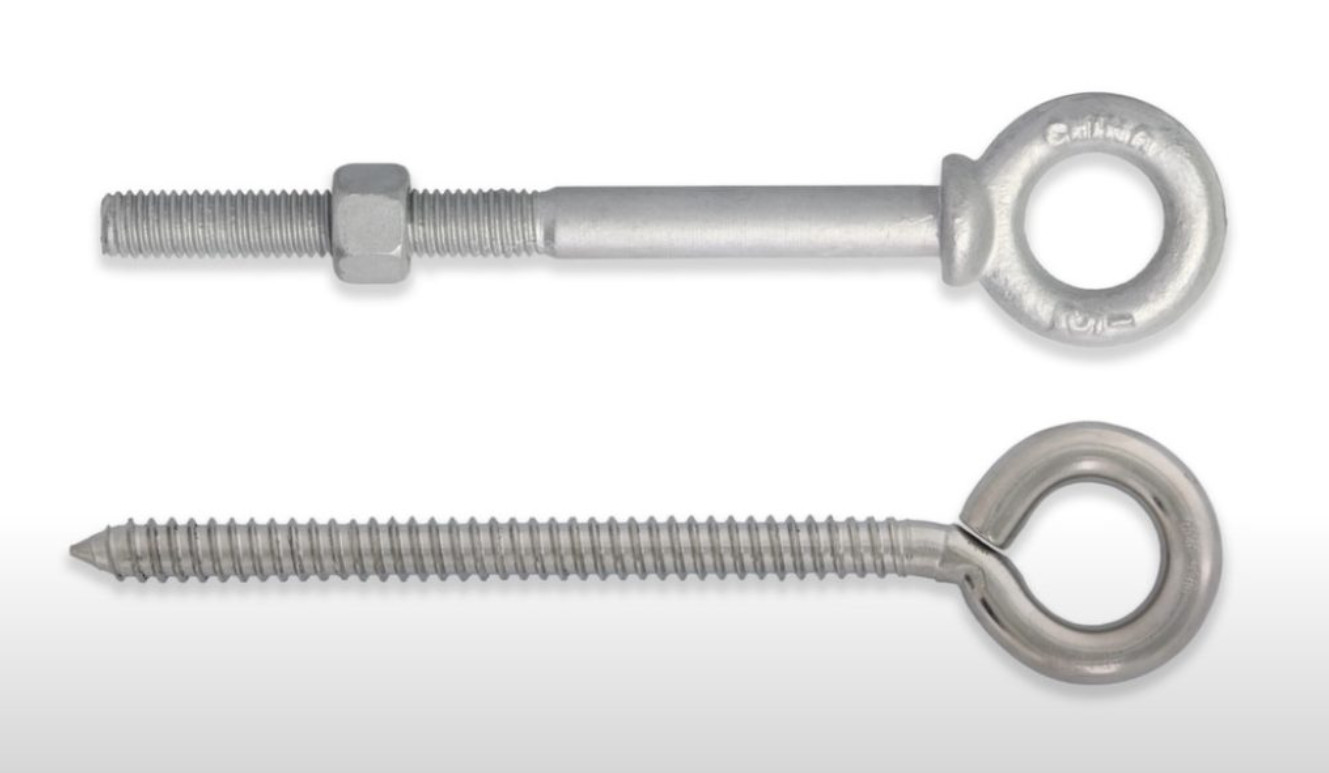
- Toggle bolts/ eye bolt screws
- Wall-hanging bracket
- Marker
- Ceiling hooks
- Measuring tape
- Stud finder
How To Hang A Projector Screen From the Ceiling?
As you have gathered all the supplies you need, we’ll go over the step-by-step procedure for completing this task now.
Step 1: Prepare the project.
Most projector screens arrive partially built and ready to install from the ceiling. You will see the bracket connectors on the upper edge of the screen to keep the screen in place.
Now, install the eye bolts and the hook snaps. You may begin installing the projector screen, which is a two-step procedure:
- Screw the screen casing (There are bracket connectors meant for holding the screws)
- Insert the snaps into the eye bolt loop.
If the package doesn’t come with hook snaps, you can still find them at your local electronics store.
Step 2: Prepare the ceiling.
To achieve the best viewing experience, you should always find the ideal location to install the screen.
Do not set the display near doors or windows. Otherwise, your friends or family members will interrupt your movie time.
Moreover, you should not hang it in a place that is too bright. The lighting may affect your viewing and the image quality.
Place the monitor opposite your sofa or anywhere where you can have a fantastic view from the angle of the area.
Moreover, the ceiling must be strong. Due to the heaviness of the monitor, if it is not sturdy enough, it may crack.
After choosing the right location, drill some holes there. It would be best to pre-drill before you start the installation.
This preparation step helps you determine whether or not you will touch the ceiling beams.
If you can’t touch the stud, use a strong cable through the hole to measure the distance between the stud and the hole.
After you’ve spotted the stud, you may add extra screws to it. Toggle bolts and eye bots can work for this purpose.
Also Recommended:
– Without a projector, how can a mobile screen be projected onto a wall?
– How do I connect the speaker to the projector?
Step 3: Screw the bolts
If you use eye bolt screws to install the screen, things will be a lot easier. Here is what to do with them:
- Insert a screw into the surface and twist it with some pressure if necessary.
- Use the hook straps you connected to the bracket connectors and then connect them to the screws in the ceiling.
If you use toggle bolts, you have to take more steps. If security is your top consideration, these bolts can work better.
A stud will be necessary for this stage because of their horizontal foundation and holes in the bottom for the screws.
Related:
– How do you build a projection screen outside?
– 16:9 Vs. 16:10 Projector Screens
The instructions for inserting the toggle bolts are as follows:
- Drill a big enough hole to fit the toggle’s wings in the ceiling.
- Remove the wings.
- Insert the bolt into the hook and reconnect the toggle wings. Remember to leave about three threads free at the top.
- Fold the bolt wings and insert the bolt in the drilled hole.
- Fasten the bolt using a screwdriver.
Although the toggle bolts are ideal for security, using them requires much time. You may need two or even more hours for the task.
The design of toggle bolts is distinctive.
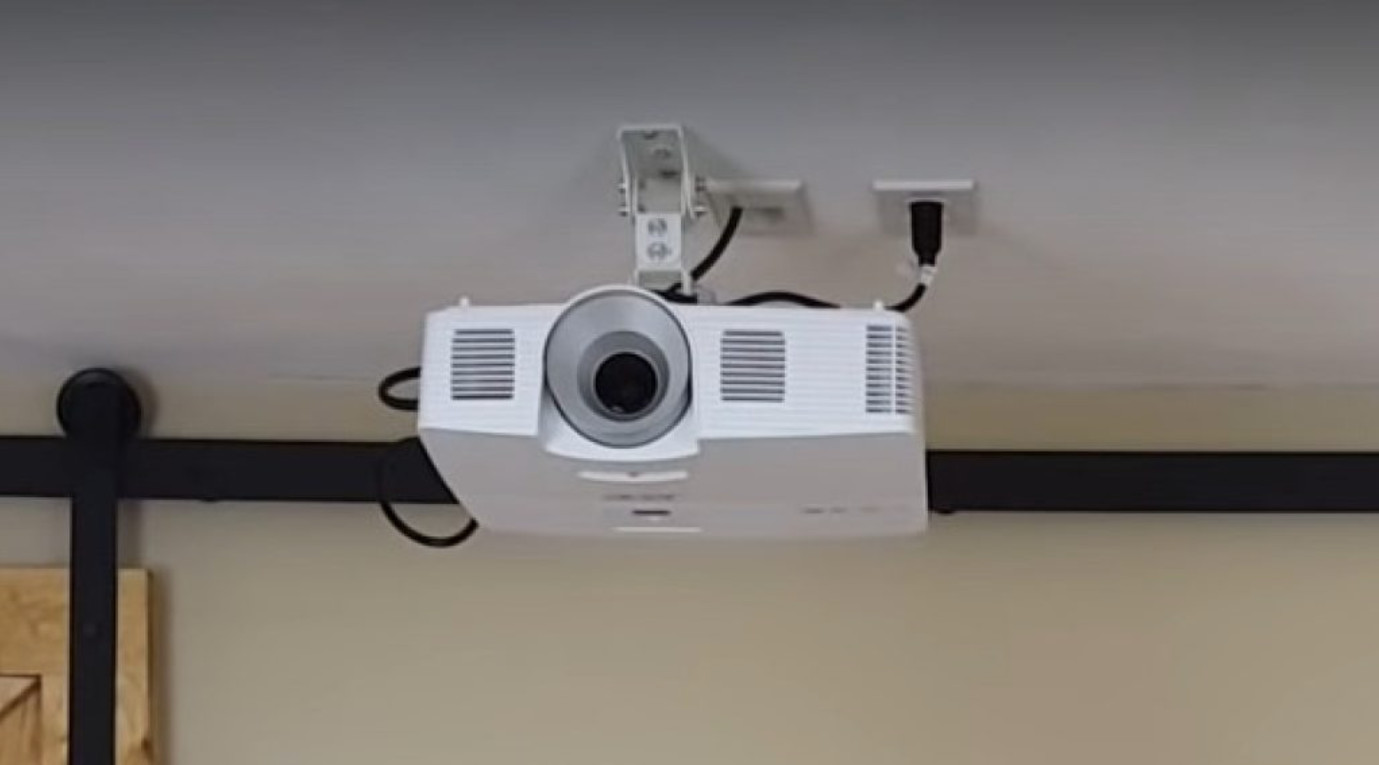
Step 4: Install the screen
After you’ve performed the tasks listed above, go ahead and hang the projector screen at the chosen location.
You will need help from somebody to raise the protector screen and put it on the roof at this stage. Adjust eye bolts connected to the drilled holes after lifting the monitor to the desired height.
Finally, insert the projector screen by snapping the hook into the eye bolt loop.
Step 5: Test
The setup is now ready, and you can run a test to see whether you handled everything correctly.
Check your projector’s image clarity and effective projection by turning it on. If the monitor is not correctly aligned, adjust it.
Tips For Hanging A Projector Screen From The Ceiling
Aside from the step-by-step instructions we have shared, there are some things you need to pay attention to.
Do’s
- Make sure that all of the chords are in sync.
- The protector should be close to the power outlet.
- Always check the projector’s instructions before using it.
- Make accurate measurements.
- Keep your children away from the installation site where you’re working.
- If the projector’s display is too big, it’s best to contact an expert to avoid any risks.
- Drill the holes with care and precision.
- Before installing the screen, double-check that everything is in good condition.
- Carefully handle eye bolts, hooks, and snaps.
Don’ts
- Do not buy low-cost mounting hardware.
- Do not leave any cords hanging.
- Do not tie the wire to the projector.
- Do not install the screen without any measurements.
- Do not set the projection in a place with many windows.
- Do not position the monitor too close to the floor.
- Do not drill holes too deeply because they will damage your ceiling.
- Do not fasten the screws too tightly.
Conclusion
A ceiling-mounted monitor is a great way to unwind after a hard-working day. You can do it yourself with caution. All you have to do is follow the instructions in this post.
Hopefully, you will find this article helpful. For any further information, please feel free to ask. Thank you for reading!